

How I got internet across my yard to my barn
A short guide to getting internet from one building to another on your own property

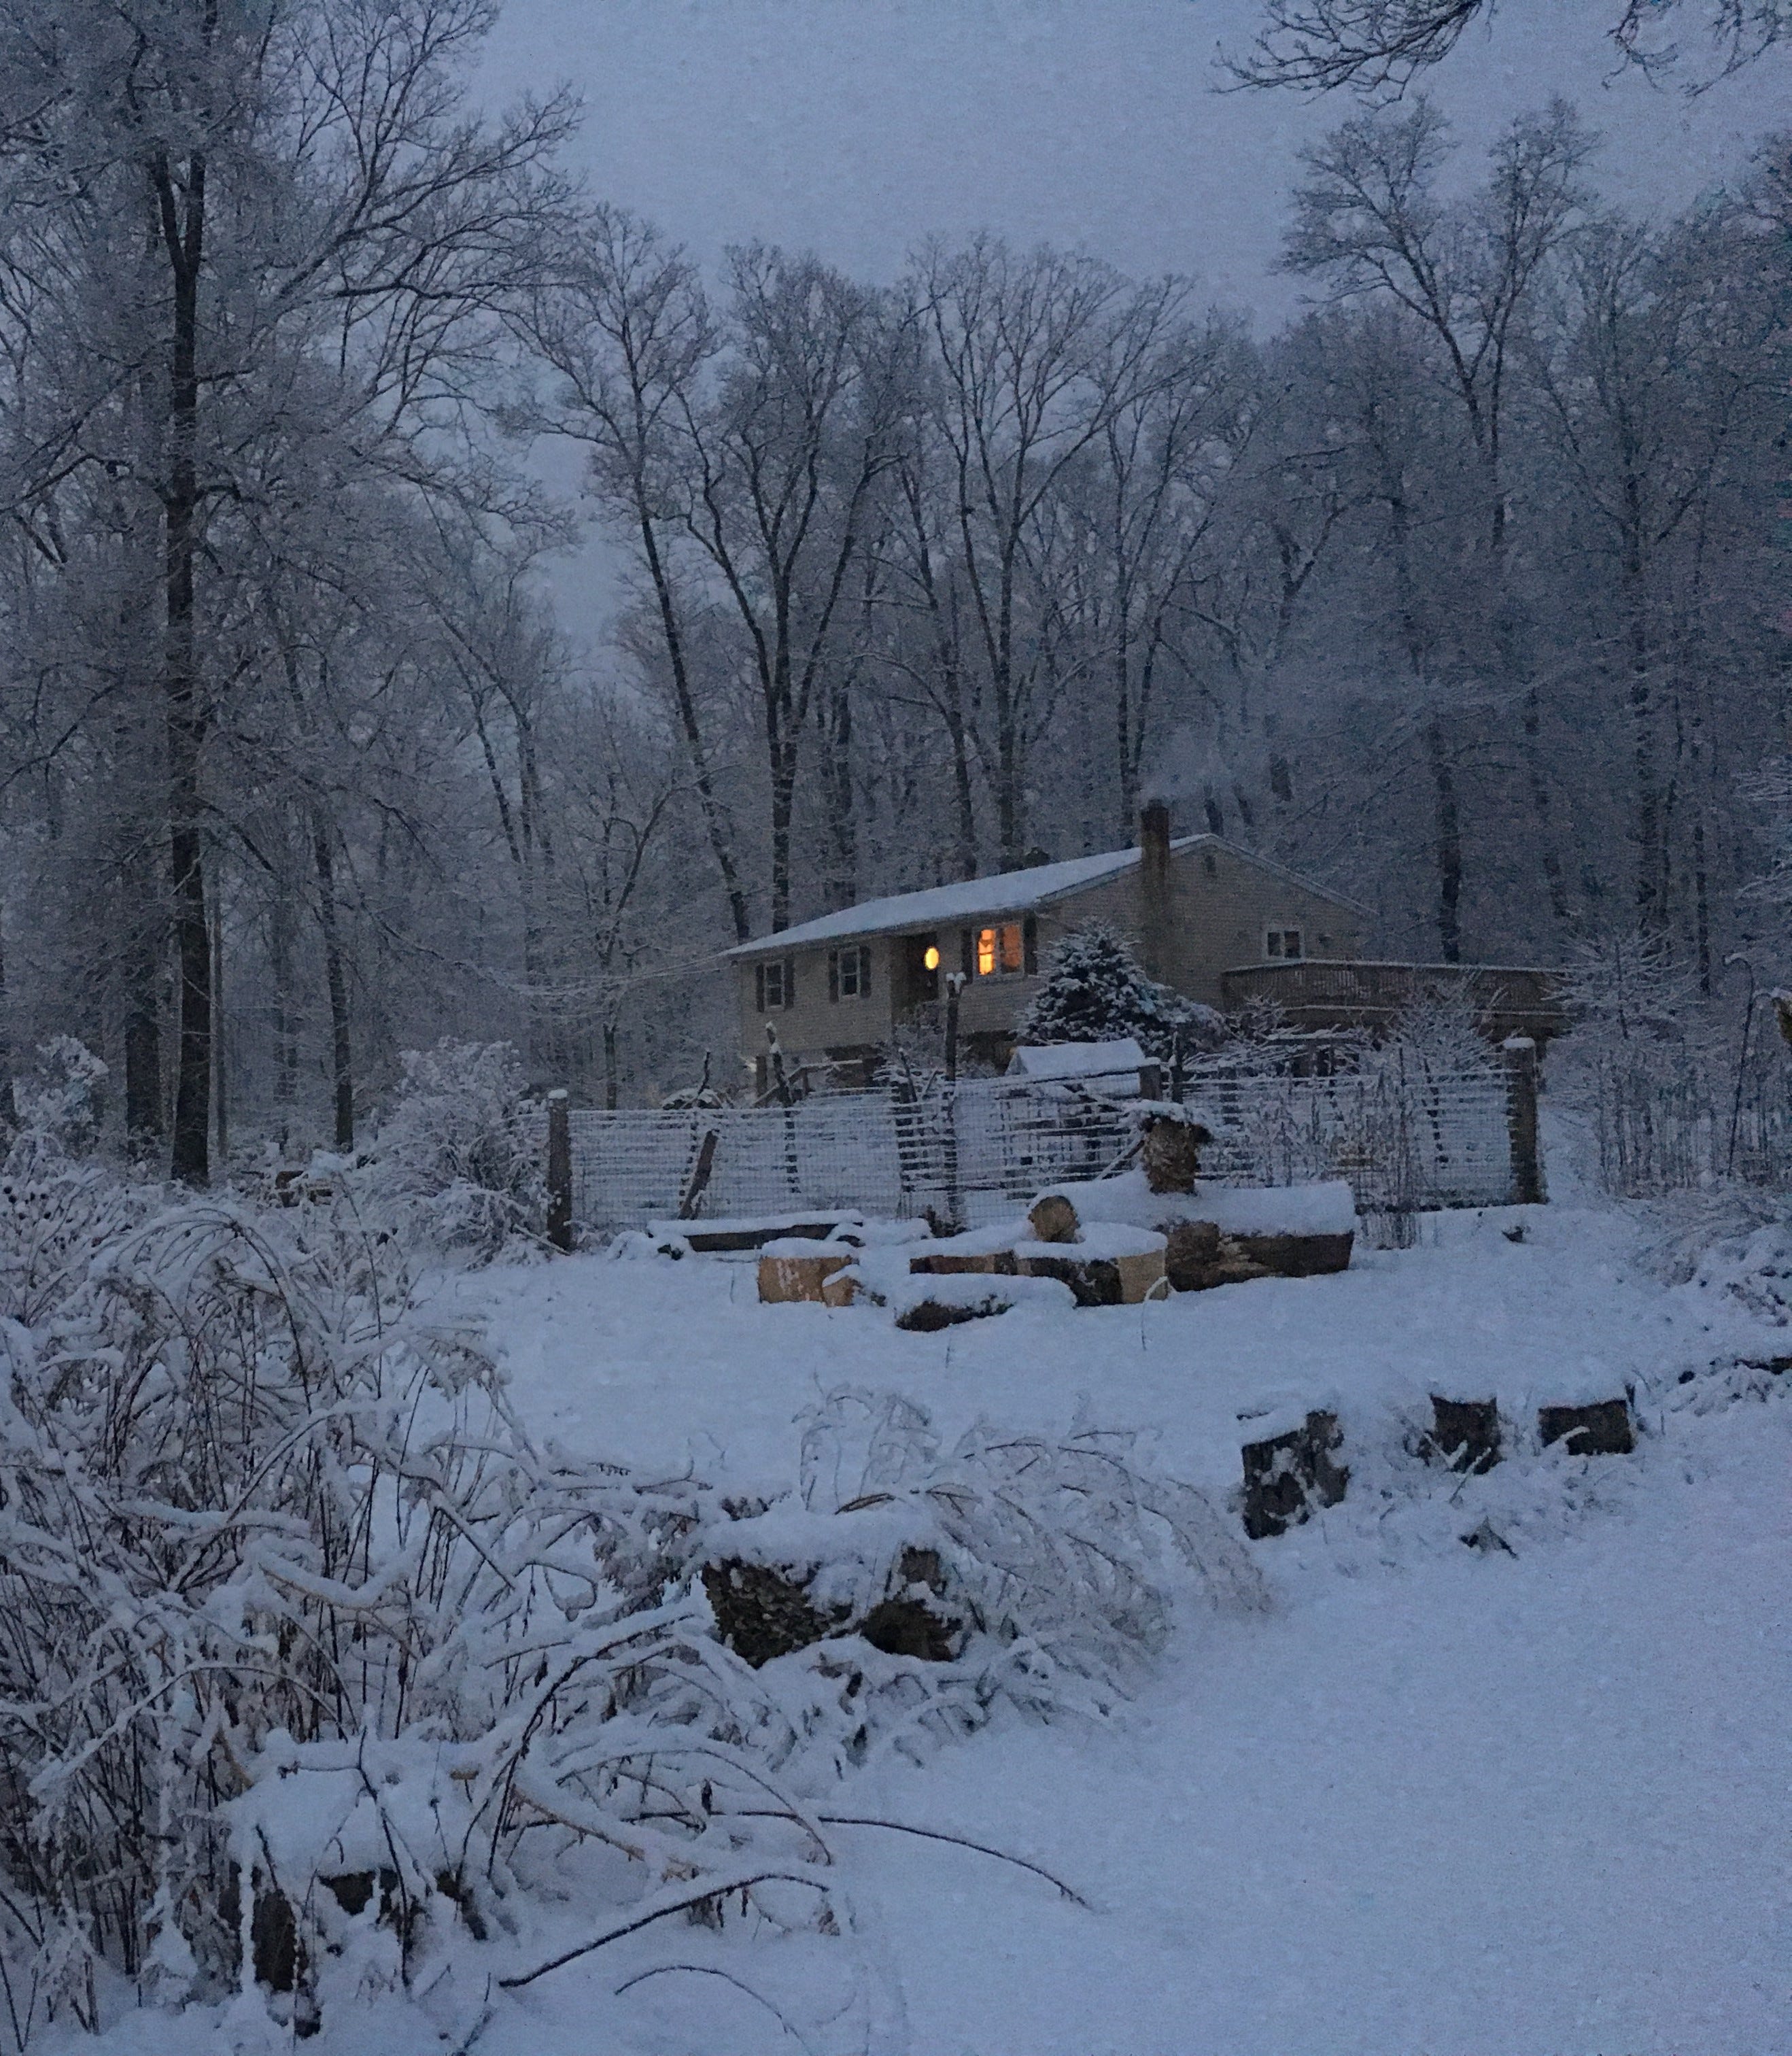
We are fortunate to have a detached pole barn on our property that serves as a garage, workshop, toolshed, and sometimes a crappy recording studio. It’s a great building, and one of the reasons we bought this place ten years ago. But the structure is also a giant Faraday cage, with its heavy siding and steel roof. Once you’re inside, good luck getting any cell signal. You might as well forget wireless, because the router is inside the house, about 75 yards away, across the property.
How do you get internet into a steel box that is 75 yards away from your router? Before I solved this problem, distance and signal problem meant a wireless extender wasn’t going to cut it.
If I wanted to stream some music or have a podcast on when I was doing a chore, I was hiking back to the house. For someone as lazy as me, this was unacceptable. Plus, having internet in the pole barn would help with looking up information when working on the cars or other projects. But I didn’t want to bury an ethernet cable, for many reasons, including that it would involve 75 yards of excavation.
I set out to fix this problem and had some success. All it took was a few simple materials, some time playing with the setup, and some patience. The setup is simple and fairly durable. It will stand up to the elements fairly well. Though, if you mess with your router or modem settings, prepare to have to start over. In fact, that’s why I wrote this guide: I changed the wireless security settings and the whole thing went down.
Hopefully it helps you get internet to your barn, mancave, she-shed, in-law suite, rental property, campsite, or whatever building or site (hereafter your “outbuilding”) that is not close to where your main internet hookup comes in. This also could be used if you are using a public network, can’t get anything other than a weak wireless signal, and want to grab that signal in a much better way but from a distance (I’ll cover that at the end.)
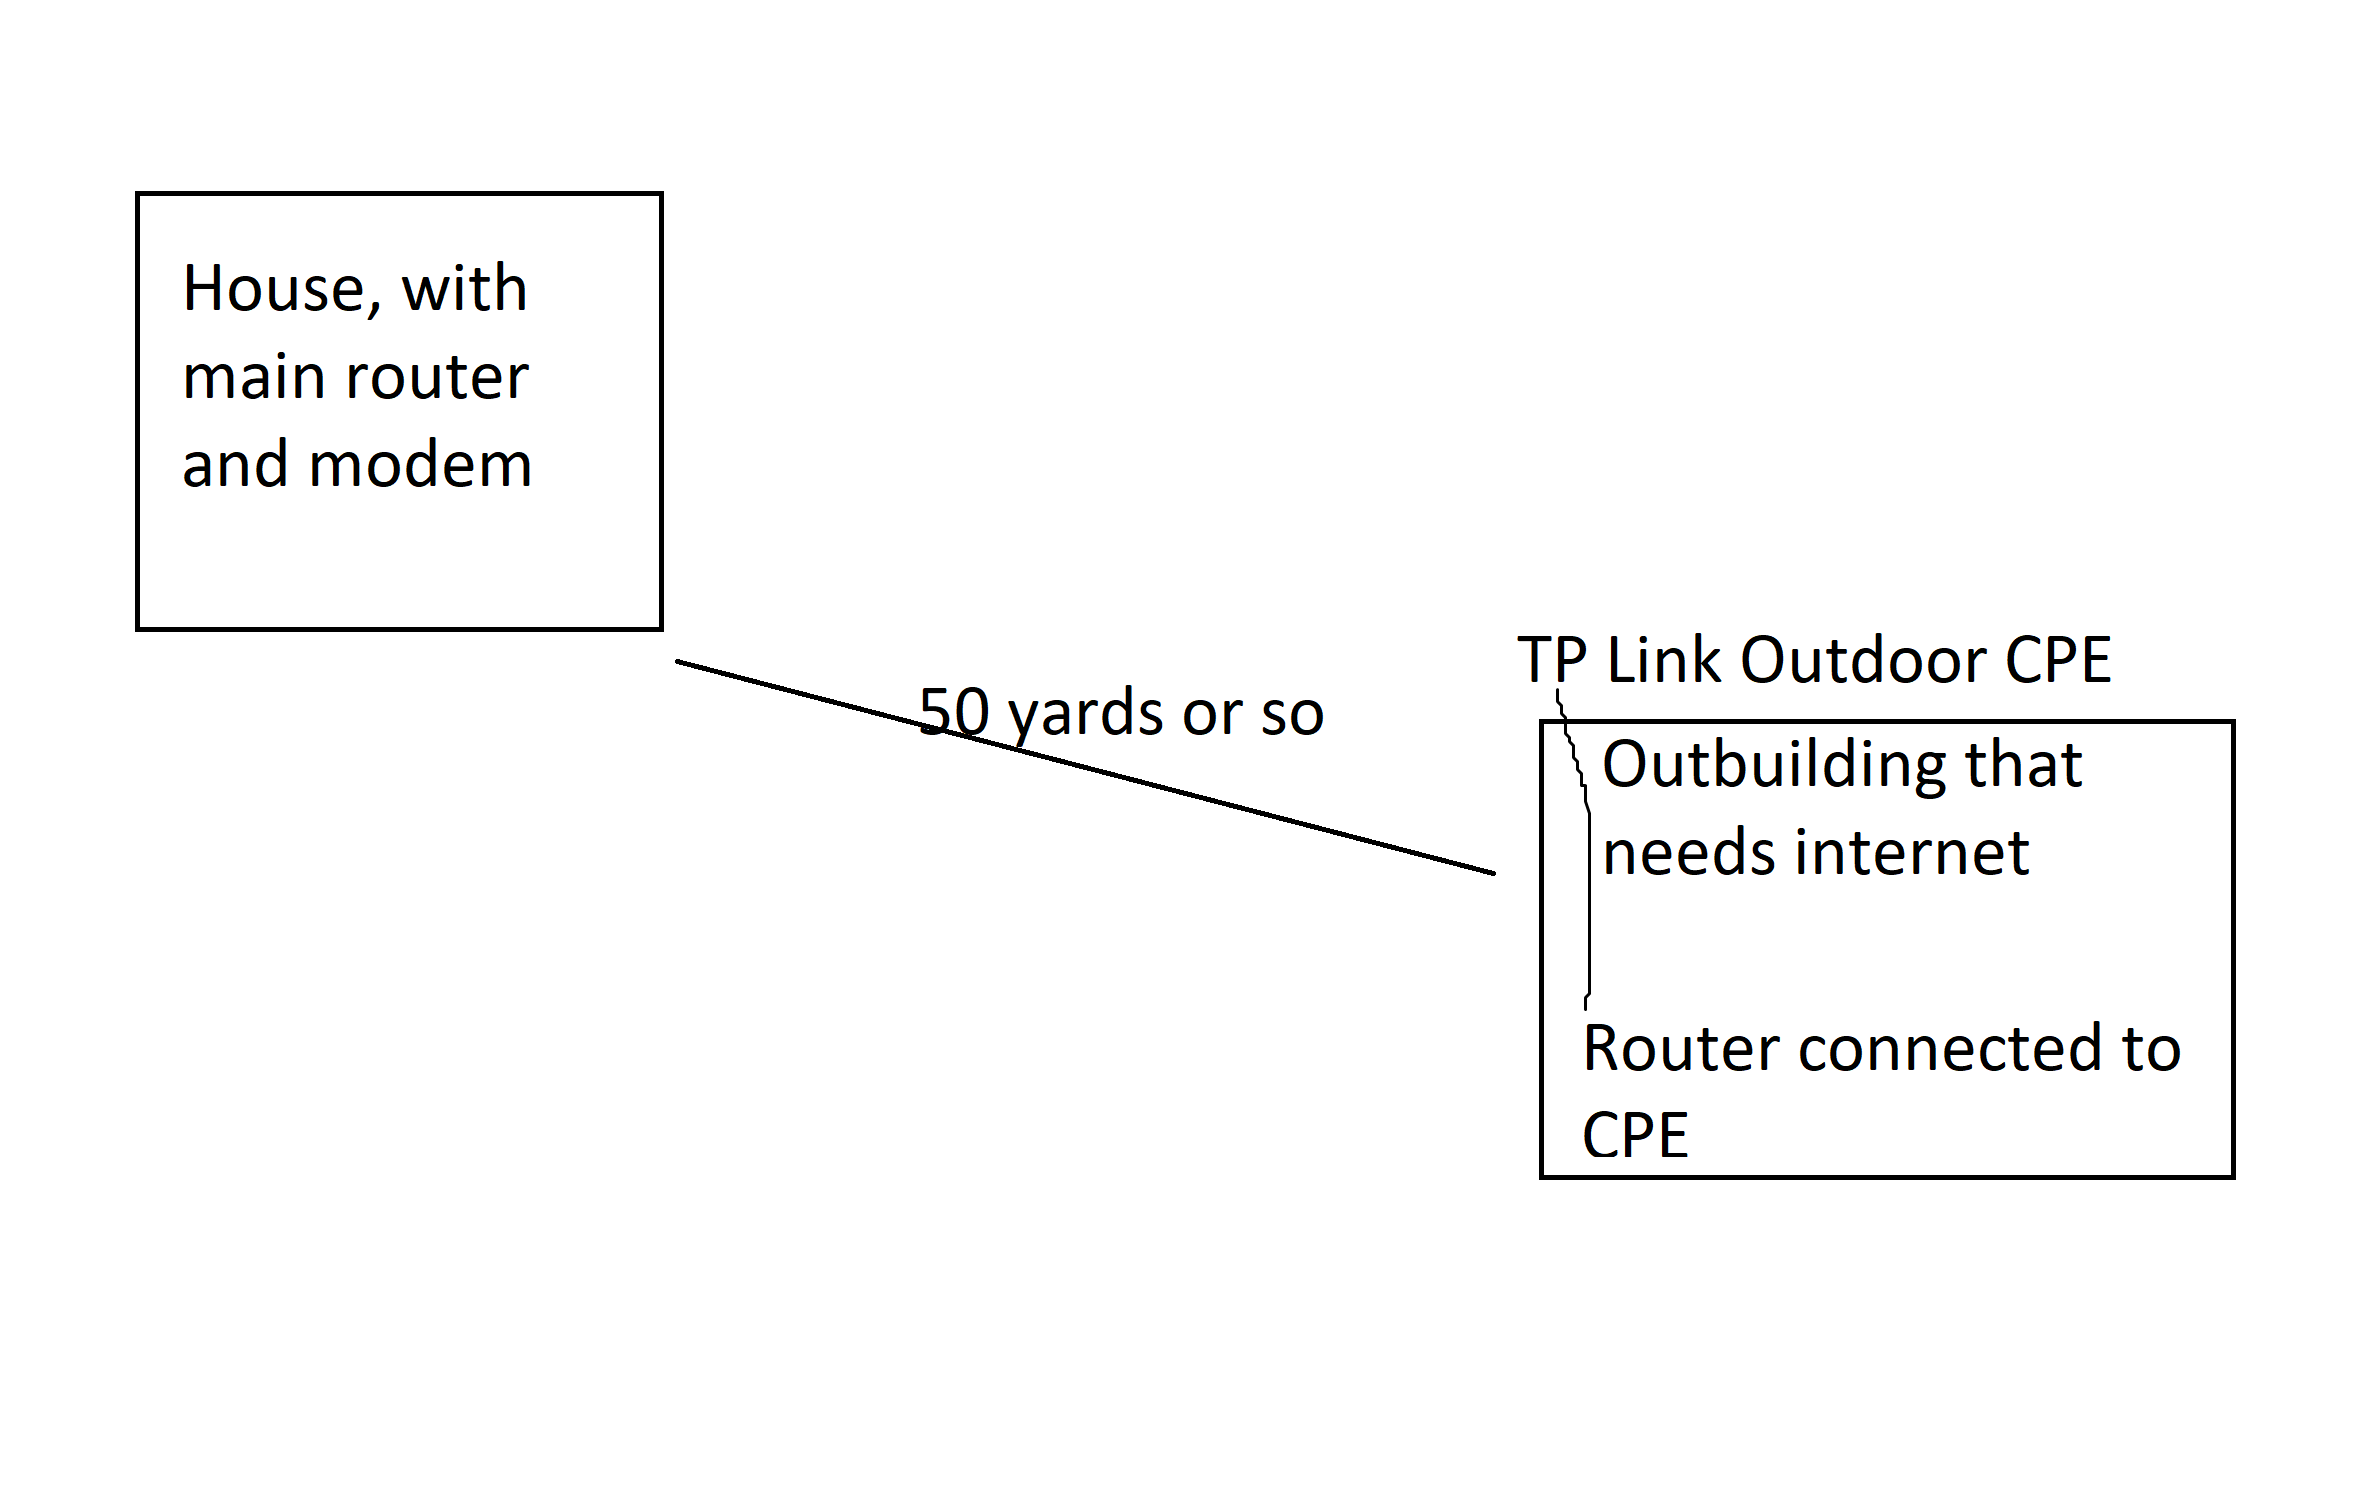
Here’s a diagram of my problem.

I do use some jargon here. I have to assume that if you have ever set up a router yourself, you know terms like “ethernet cord” and “modem,” etc. I am not a computer scientist so the jargon here is what it is. That’s because I barely know what I’m talking about. But I want this guide to make it easy on you
I also talked my Dad into trying this and wanted to write this guide up to help him when he gets his set up (Hi Dad!).
Here’s a diagram of the solution, then we’ll go on to what you need to do what I did.
INGREDIENTS LIST
Here’s what you need to do this. You can get the job done for under $150 and may even be able to get it done for under $100 if you really scrounge for materials - the only cost that really matters is #3.
A Windows 10 laptop (I assume you have this already so $0).
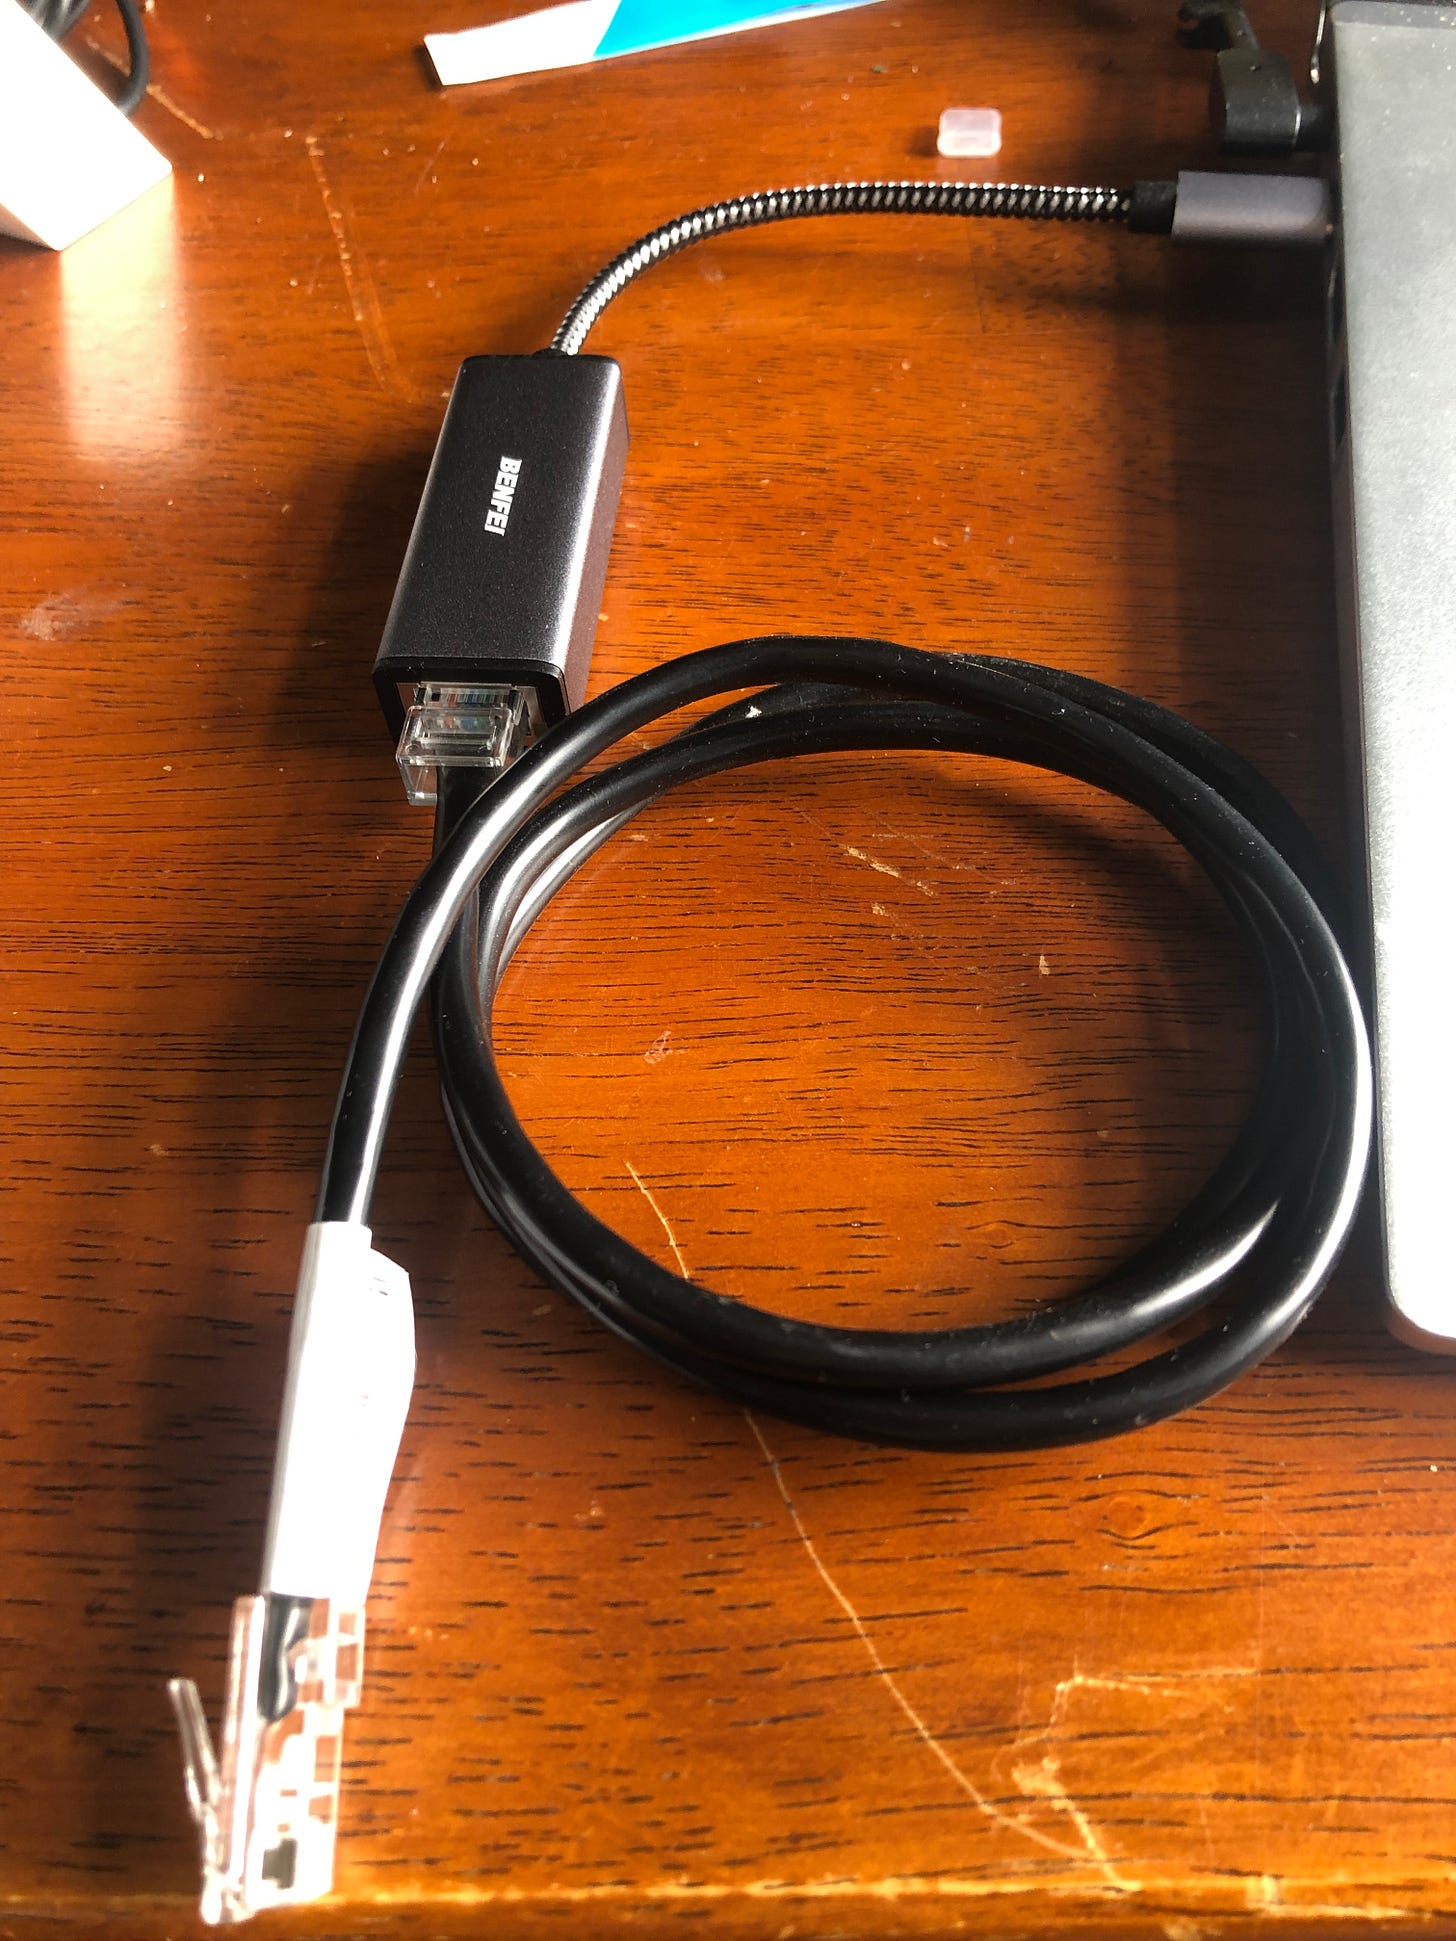
It helps to have an Ethernet port on the computer (the port to hook directly into a wired connection). If you don’t, a USB to Ethernet adapter will work. However it requires you to install drivers for the device, and it might add steps. Here’s the one I bought: Benfei USB-C to Ethernet Adapter. So add on $15 or so to your cost.
I am a Mac owner, but I found this project to be difficult on a Mac. The settings just would not stick. I’m sure someone smarter can make a Mac work. Beats me whether this works on Windows 11 or other versions.
An extra router to be located inside your outbuilding - we will call it the Out Router (~$50). This does not have to be a pricey router. The idea is to pull internet from your main router, transport it to the location you need it, and connect computers at that location to this Out Router. Check Amazon and find a simple, reliable one that has an easy set up. It does not need a ton of range. #3 on this list is doing the heavy lifting of long range transfer of internet.
Note, that you may not need this. In my case, my barn will not allow ANY internet inside. It’s basically an internet-killing steel box, a great Faraday Cage. So my plan is to get internet by ethernet cable into my barn, and then have a router broadcasting inside my barn (see diagram below).
A TP Link Outdoor CPE (~$50). This device is a powerful wireless directional antenna. It’s the kind used by corporate and college campuses to get internet broadcast across long distances. I pointed it in a random direction, for instance, fishing for signals in my neighborhood, and was picking up signals from homes hundreds of yards away. This is what will sit at my outbuilding, picking up signal from my home, then transferring it to the Out Router to have internet in my barn.
Note that these CPE’s are directional antennas. That means you need to be conscious of which way you point it. They are powerful, but really effective where they are pointed.
If you are just trying to get internet across a wide open space, you may not need #2 and can just have the outdoor CPE. For instance, if you just want to get wireless when you’re out riding your tractor or something, you might be able to get away with just having this CPE. The reason you would use an Out Router is to get omnidirectional signal at a precise spot, like my metal barn.
Also consider getting a much simpler, easier-to-deal-with wireless router repeater/extender if you just want to make your wireless go further into your yard. In my case, I had the strange circumstance of an outbuilding that needed its own router, but was too far away from my main building for an extender to really work.
You’ll want to visit the TP Link site to get a few things. First, this video, which explains some of the initial setup architecture. https://www.tp-link.com/us/support/download/cpe210/v1/#video. Also this video:
You also need the Control Software. https://www.tp-link.com/us/support/download/cpe210/v1/#Control_Software. Install that on your computer that will be used to set up this network architecture.
(~$25) Ethernet cables - 1 shielded, 1 regular. You will need ethernet cables (AKA the internet cables) to set this up. A shielded one (to prevent damage from lightning) will go from the Outdoor CPE to the CPE’s control box, and then you will also need one to go from the control box to the Out Router. Buy longer length than you need. Amazon has both.
(~priceless) Patience. You can’t buy patience. But this is an annoying process. The way I did it may not be the way you do it. Feel free to comment on this post if you need help and I’ll try to answer.
Here’s how I did it.
Get logged onto the Outdoor CPE: To do this, you need to follow the above video about getting into the administrative setup of the Outdoor CPE. The CPE needs to be wired directly into your computer to access the admin settings! You can’t connect to it wirelessly, sorry. The basic idea is to have an ethernet cord from your computer to the control box of the CPE, an ethernet cord from the CPE to the control box, and then the control box plugged in. Here’s another help page for the CPE210 model: https://www.tp-link.com/en/support/faq/730/
Note on my use of “control box” - TP Link calls this the “Passive POE adapter” - it has a slot for the LAN (where you’d plug in a computer or router) and for the POE/CPE (I don’t know why it’s a POE and a CPE, it’s confusing). See this diagram to understand how this hooks up.

Note that I have a USB to ethernet connection (see picture) because my computer is too new for an ethernet port. These dongles do work.
Turn off your wireless connection (it interferes with the CPE)
Change your IP address by going to Control Panel → Network and Internet→ click View Network Status and Tasks → Click Change Adapter Settings.
Right click on your ethernet Connection and go to Properties. With the USB to Ethernet Dongle, I had to play around with which one to select. It eventually showed up as “Ethernet 4.” In Properties, go to “Internet Protocol Version 4” and type in the IP address as directed in your Outdoor CPE manual.
At this point, open up the Pharos Control Server Monitor. This is software that seems to help set up your CPE. Once you have gotten into the web IP address (http://192.168.0.254) you should be able to see it on the list. You then need to “manage” it on the Pharos Control Server Monitor, which involves putting in the same passwords (admin/admin or whatever you set it to).
This is where my entire process gets cloudy - the above videos from TP Link do specify some of this process, but it took some playing to get the settings to work. If you’re going to get stuck, it’s probably going to be at this step.
What’s weird, and why networking is an art rather than a science, is that the first time I did this I never needed the Pharos Control Server Monitor software. It went smoothly without it. So you might not need the software if the ethernet set up and port change goes well!
In the Outdoor CPE admin settings, you need to make the antenna into a “Wireless Radio”, which really means making it a heavy duty repeater. Why is it called a “radio”? I don’t know. But this setting means “slaving” the CPE to your main router. You should know your main router’s network well at this point, so set the Wireless Radio settings up to mirror your home network.
UPDATE: I also found that setting up the CPE as “Repeater” in Operation Mode is MUCH easier to do. So do that.You will know this process is working when you disconnect the ethernet from your computer and you can get internet outside if you point your CPE in that direction.
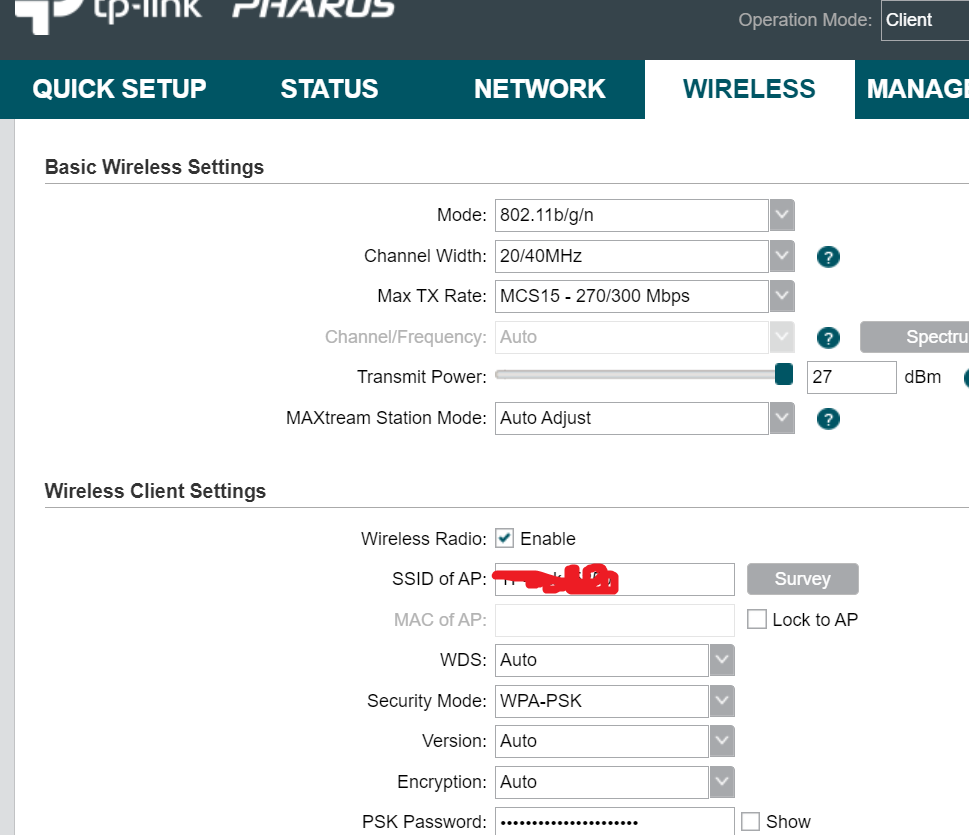
Check “Enable” under wireless radio and put in your wireless info.
If you made it this far, congrats! You’re about halfway through and through the worst step.
Now you need to set up your Out Router to catch the signal from your Outdoor CPE. This should be easy. If you did 1-5 right, the Outdoor CPE is currently broadcasting signal from your main router. All you need to do is connect the Outdoor CPE to your Out Router using the shielded ethernet cord and you should be able to proceed with setting up the Out Router to broadcast an omnidirectional wherever you are.
I can’t help a ton with this step. I ended up with a cheap Linksys router that had its own quirks with setup. But if you can set up a router for your own household, and you did 1-5 correctly, this should be easy for you.
You need to set up this new network in your outbuilding.
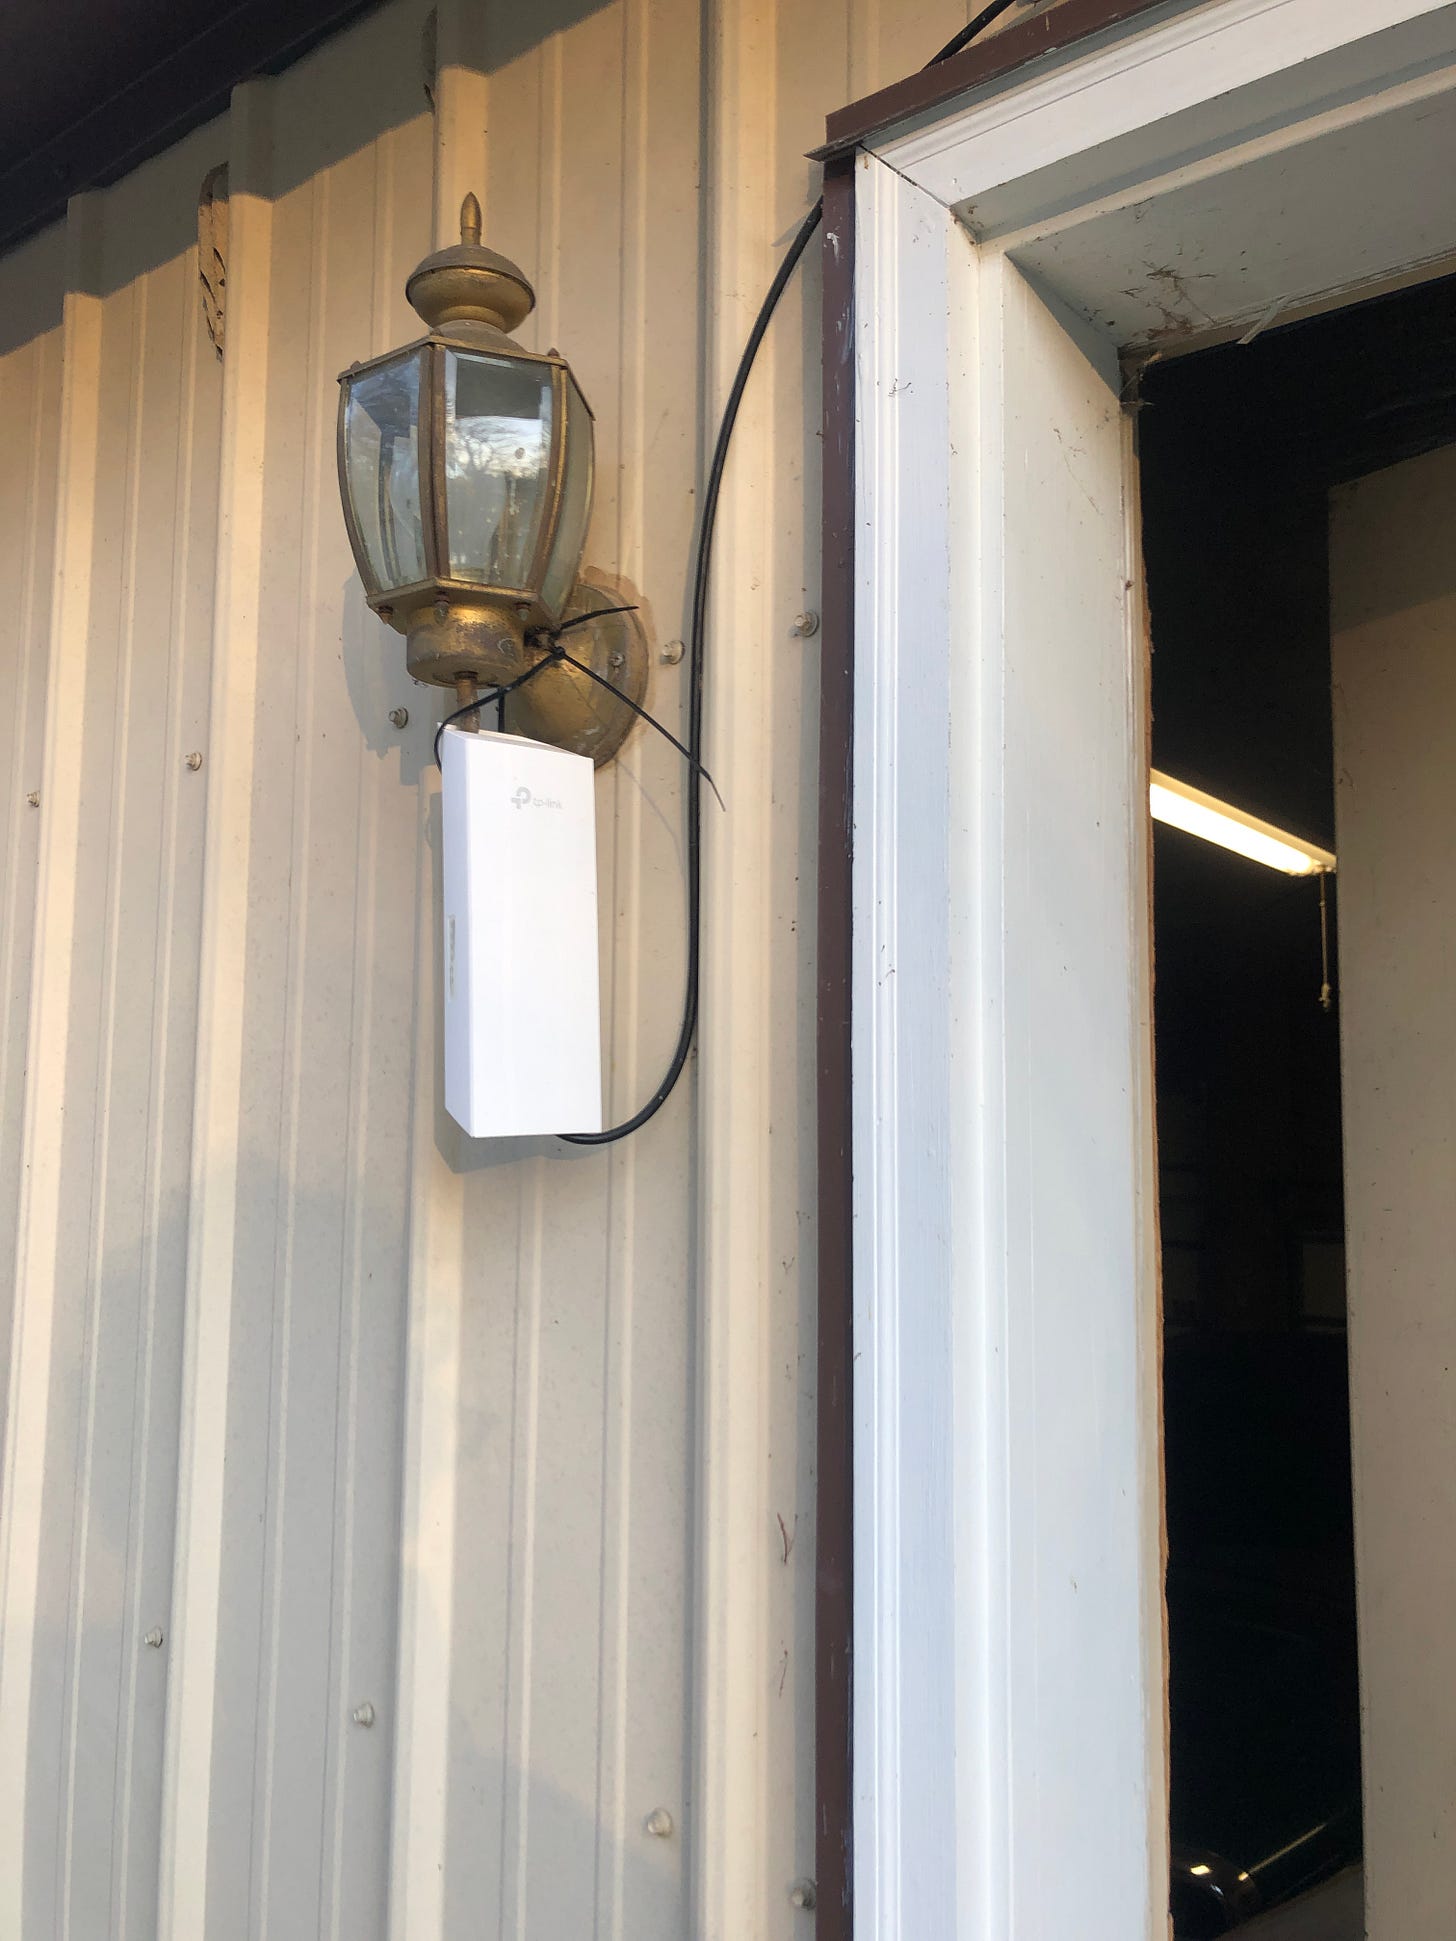
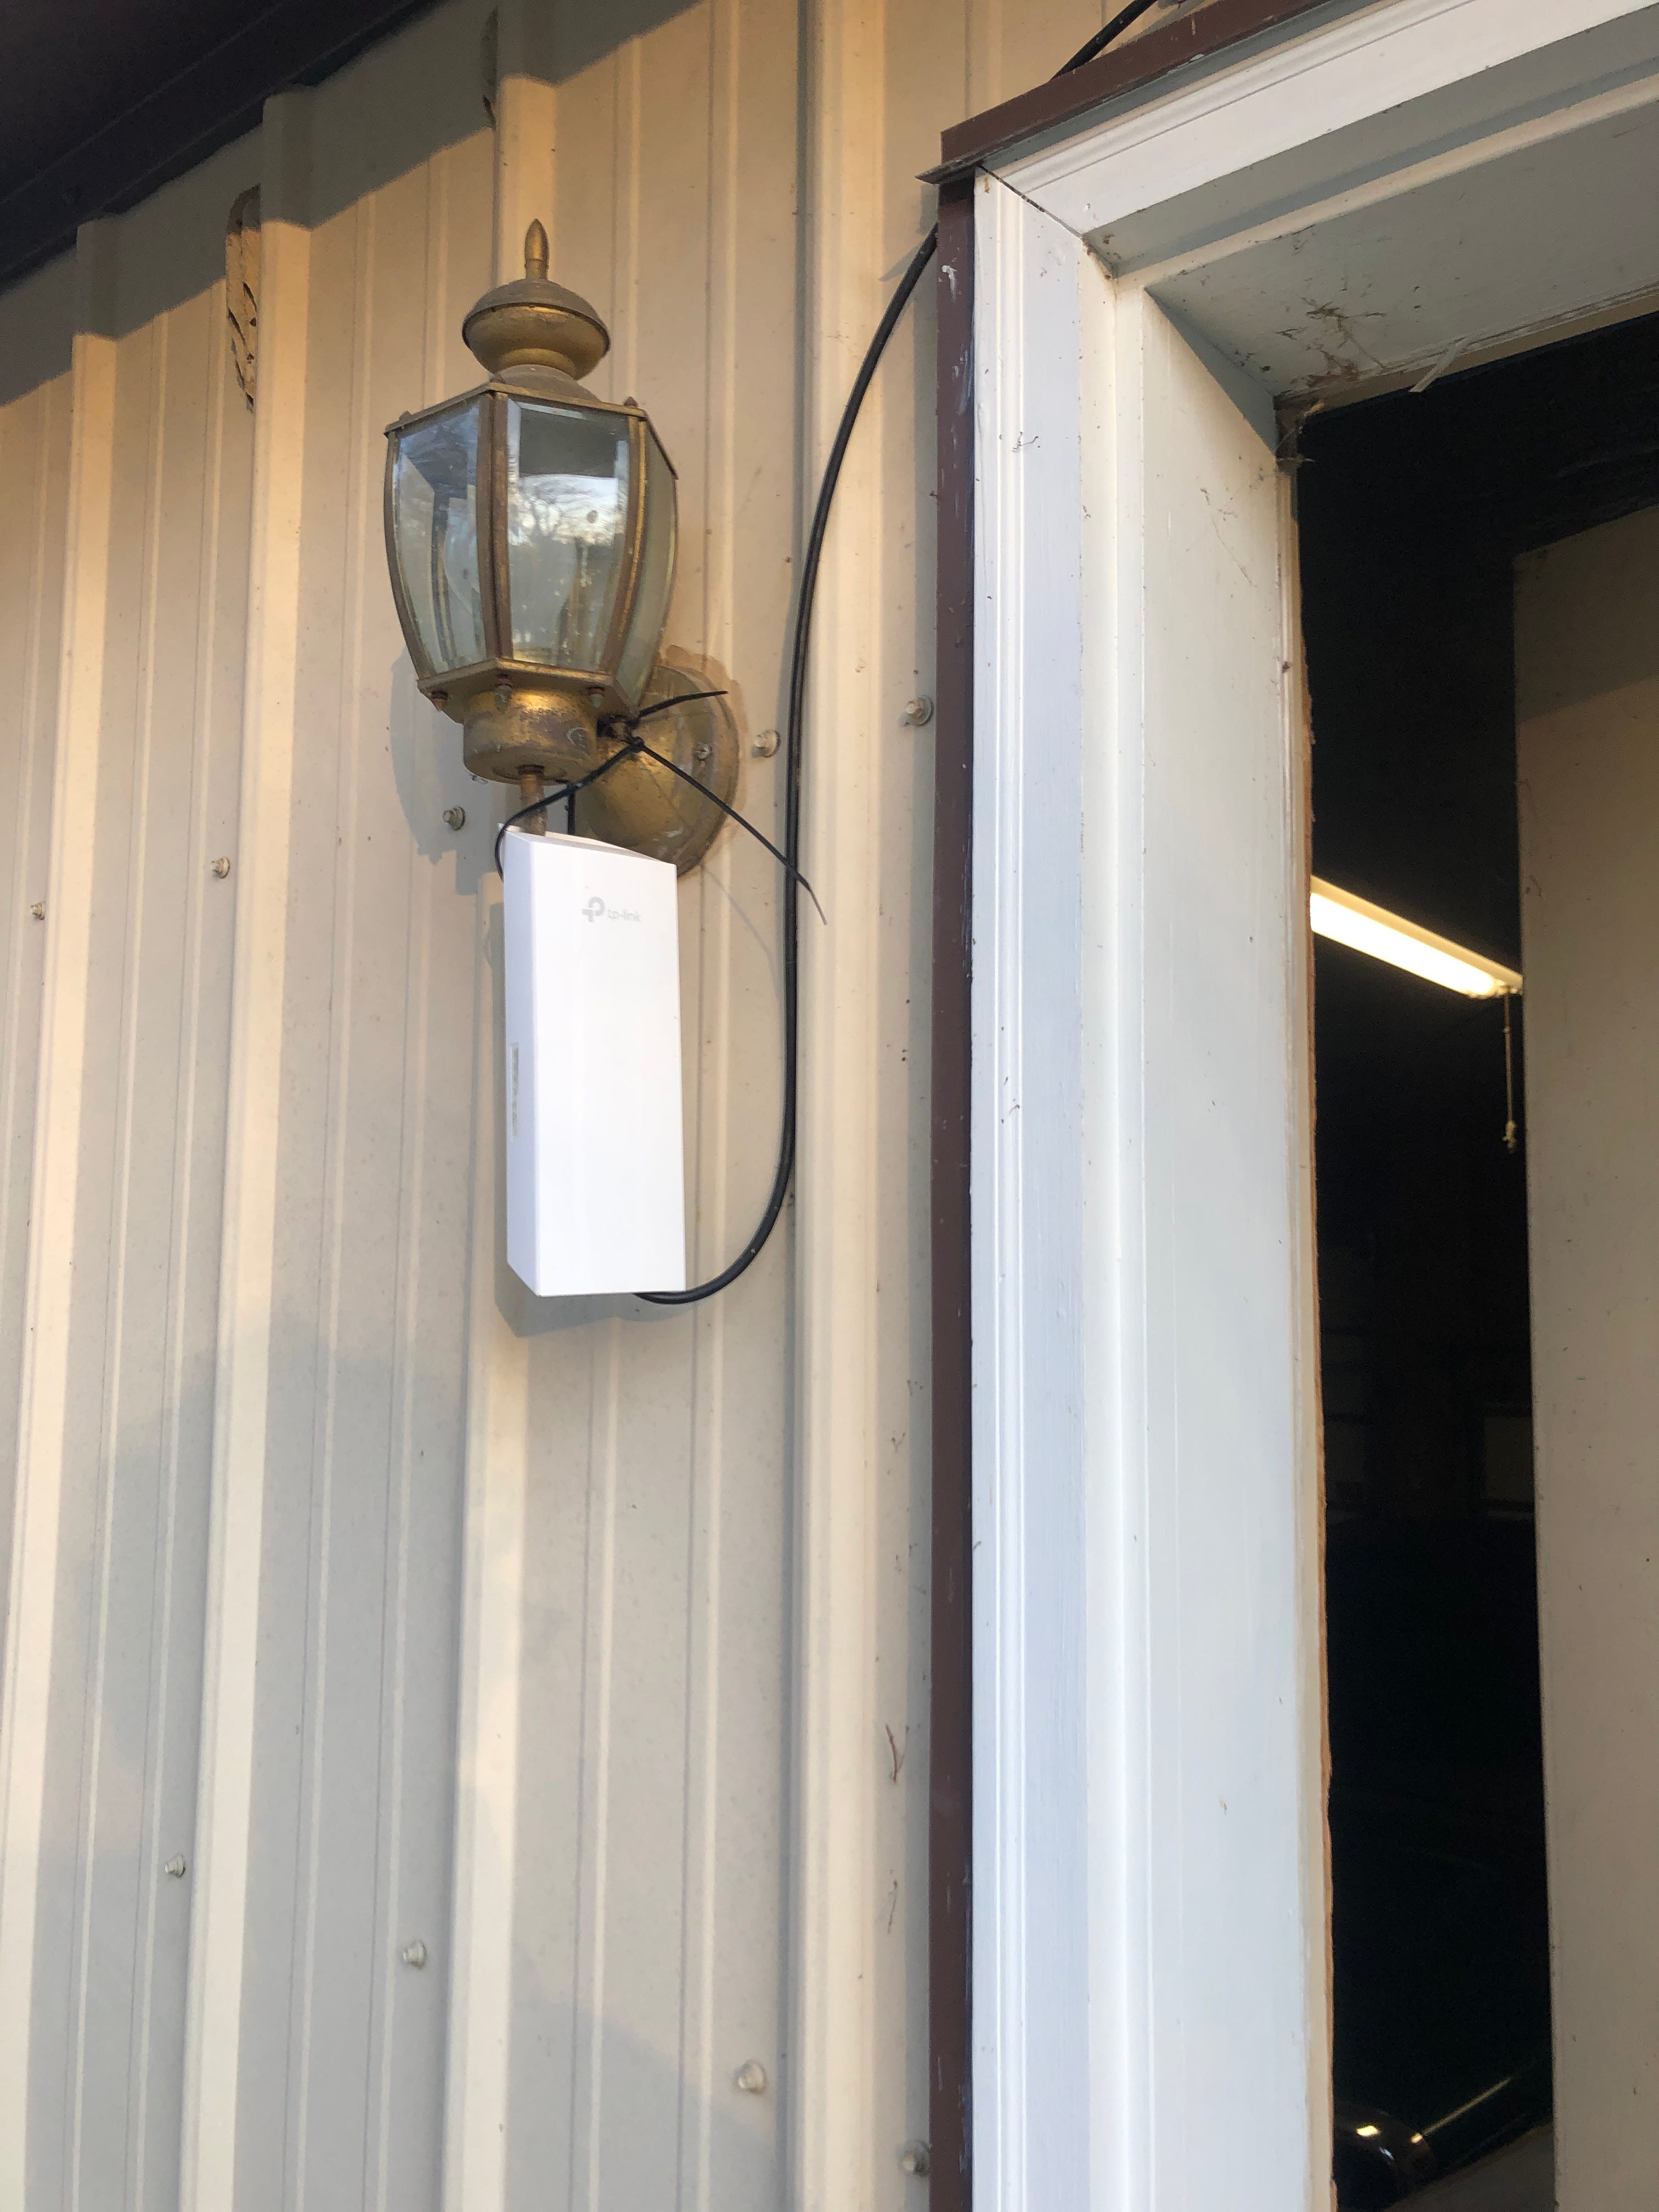
Because of my faraday cage barn, I ended up drilling a hole through the wall to fish through the shielded ethernet cable. My Outdoor CPE hangs under the eaves of the barn so that it’s not as exposed to the elements. It worked for a year and continues to work. You can see from this photo that the CPE hangs facing my house, with the shielded ethernet cord going over the doorframe to go into the outbuilding, and to the control box. The zip ties holding it onto the lamppost are to make sure everyone knows that I don’t have any money.
I connected the shielded cord to the CPE control box, then the Out Router to the control box, and I’m in business.


Other Ways to Use an Outdoor CPE and some Warnings
I originally read a reddit post (which I since can’t find) about a guy with a boat at a marina. His marina had wireless, but his boat slip was so far away from the wireless access point/router that he could never get signal.
Someone recommended this Outdoor CPE. The helpful redditor said that the guy with the boat should point that CPE at the marina’s wireless access port, potentially set up an Out Router, and he should be good on having internet when his boat is in dock. That’s the basic model I used for what I did, except that instead of a boat, I have a metal barn.
Similarly, if you are at a campsite with a trailer (like my Dad), you could also use an Outdoor CPE to draw in weak signal.
On to the warnings:
I don’t leave this on when I’m not using it. The broadcast distance is so large that, if you had unscrupulous actors in your neighborhood, they could pick up the signal easily. Sure, the passwords and WEP security and all that is fine, but why expose your wireless access point to more people than is necessary?
Conclusion
Hopefully this guide helps you with your similar issue. Please comment if you have questions and I’ll do my best to answer them. Best of luck!
Thank you for this, I am able to get internet to my barn now. Problem is, only one device can use wifi at a time. Any ideas were I went wrong?